TAMARACK PROMISE
Keeping You Moving
Researching, developing, and manufacturing award-winning products used worldwide to improve and maximize human performance and comfort since 1990.
Tamarack Family of Brands
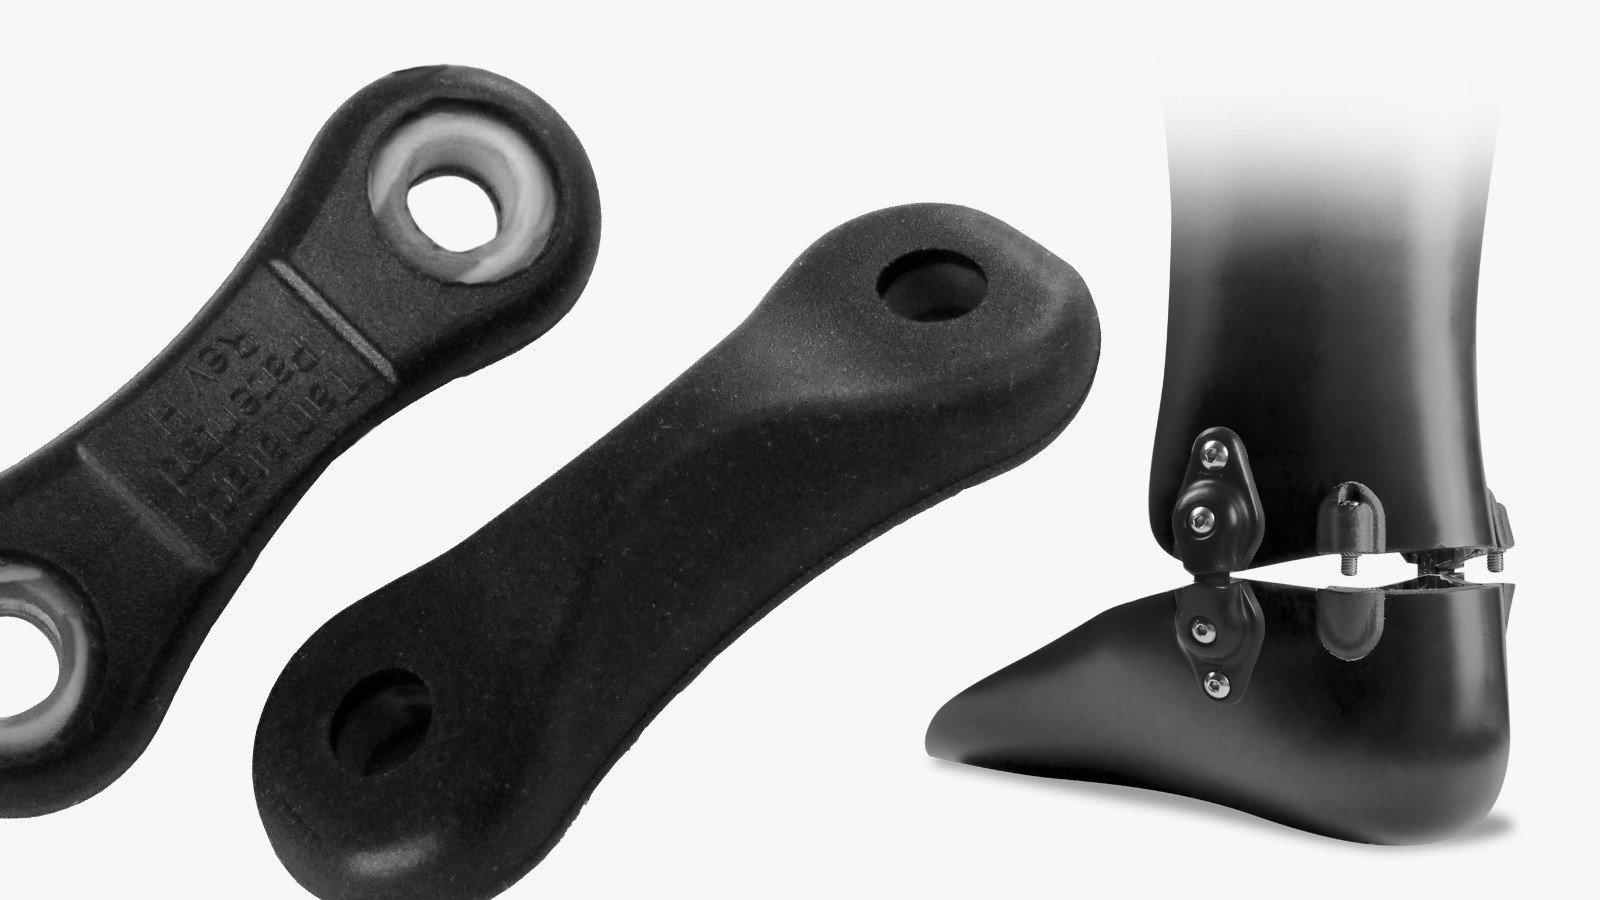
Flexure Joint™
Lightweight, cost effective, and easy to install, providing smooth articulation and unmatched durability
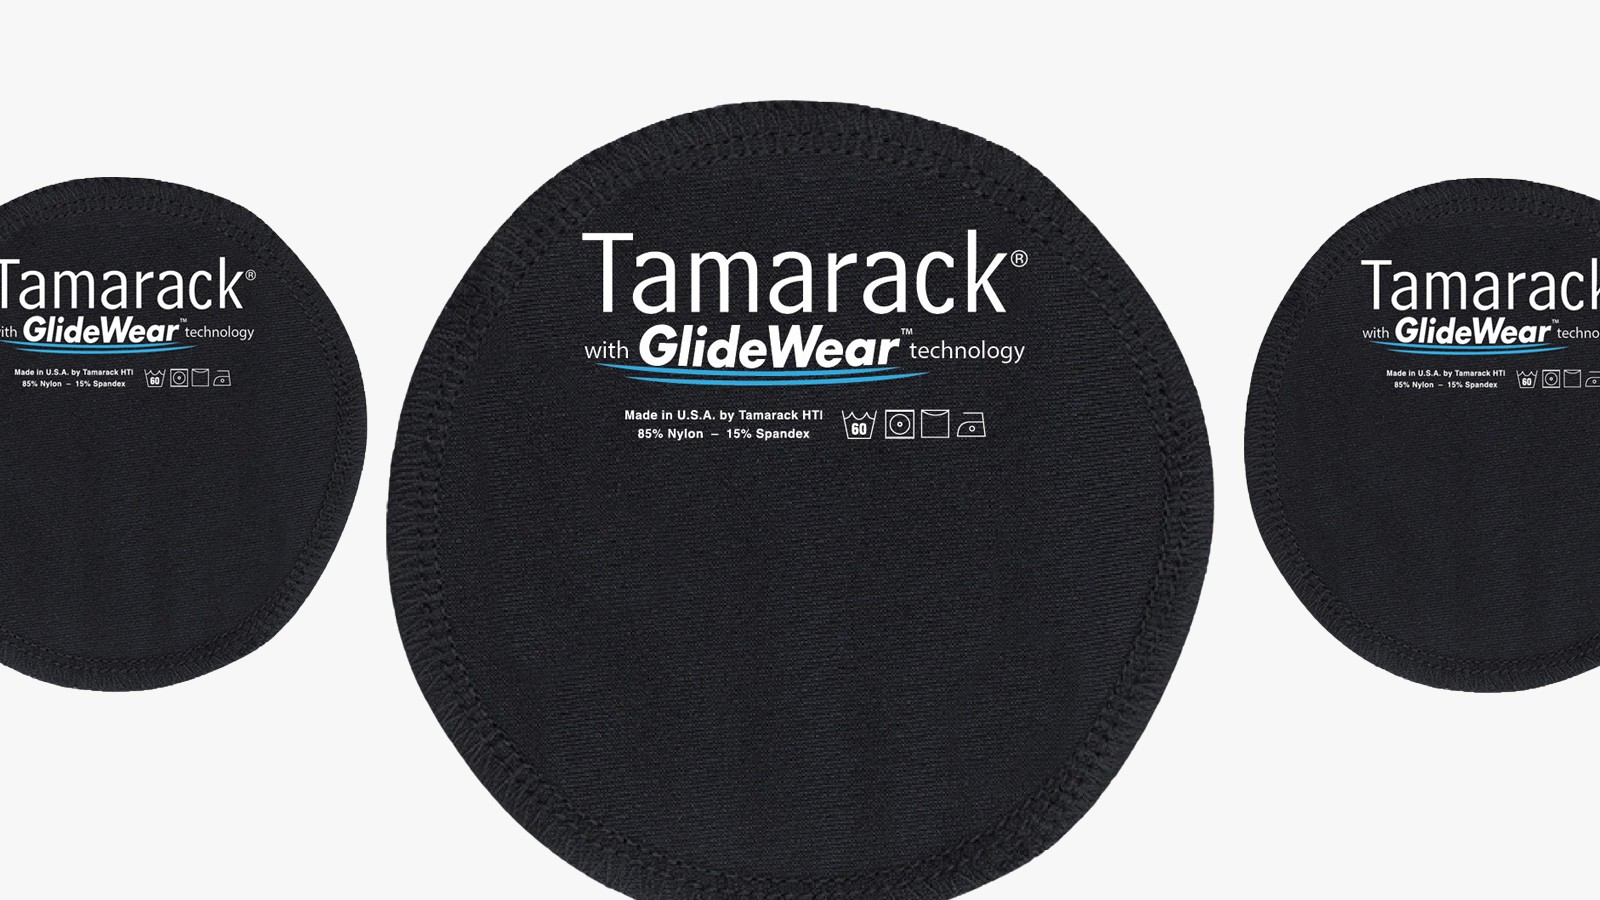
GlideWear™
Strategic Friction Reduction for Protection Against Pain, Skin Breakdown & Pressure Injuries
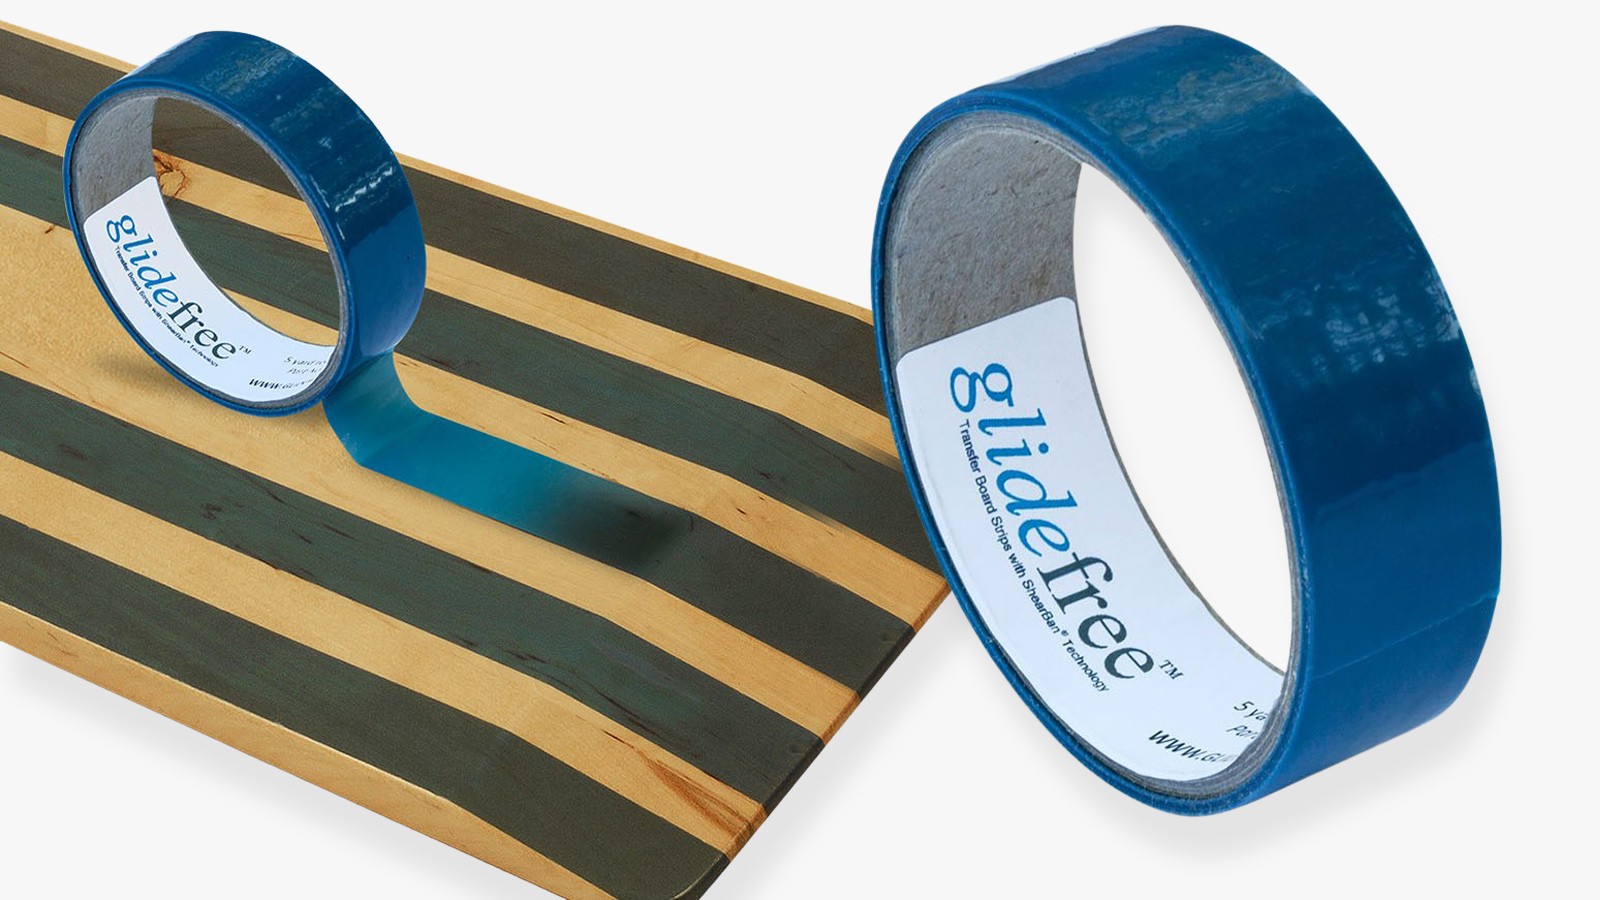
ShearBan™
Self-adhesive, low-friction interface providing targeted protection from friction & shear forces
Engo™
Long-lasting, ultra thin, self-adhesive blister-relief patches for footwear & athletic equipment
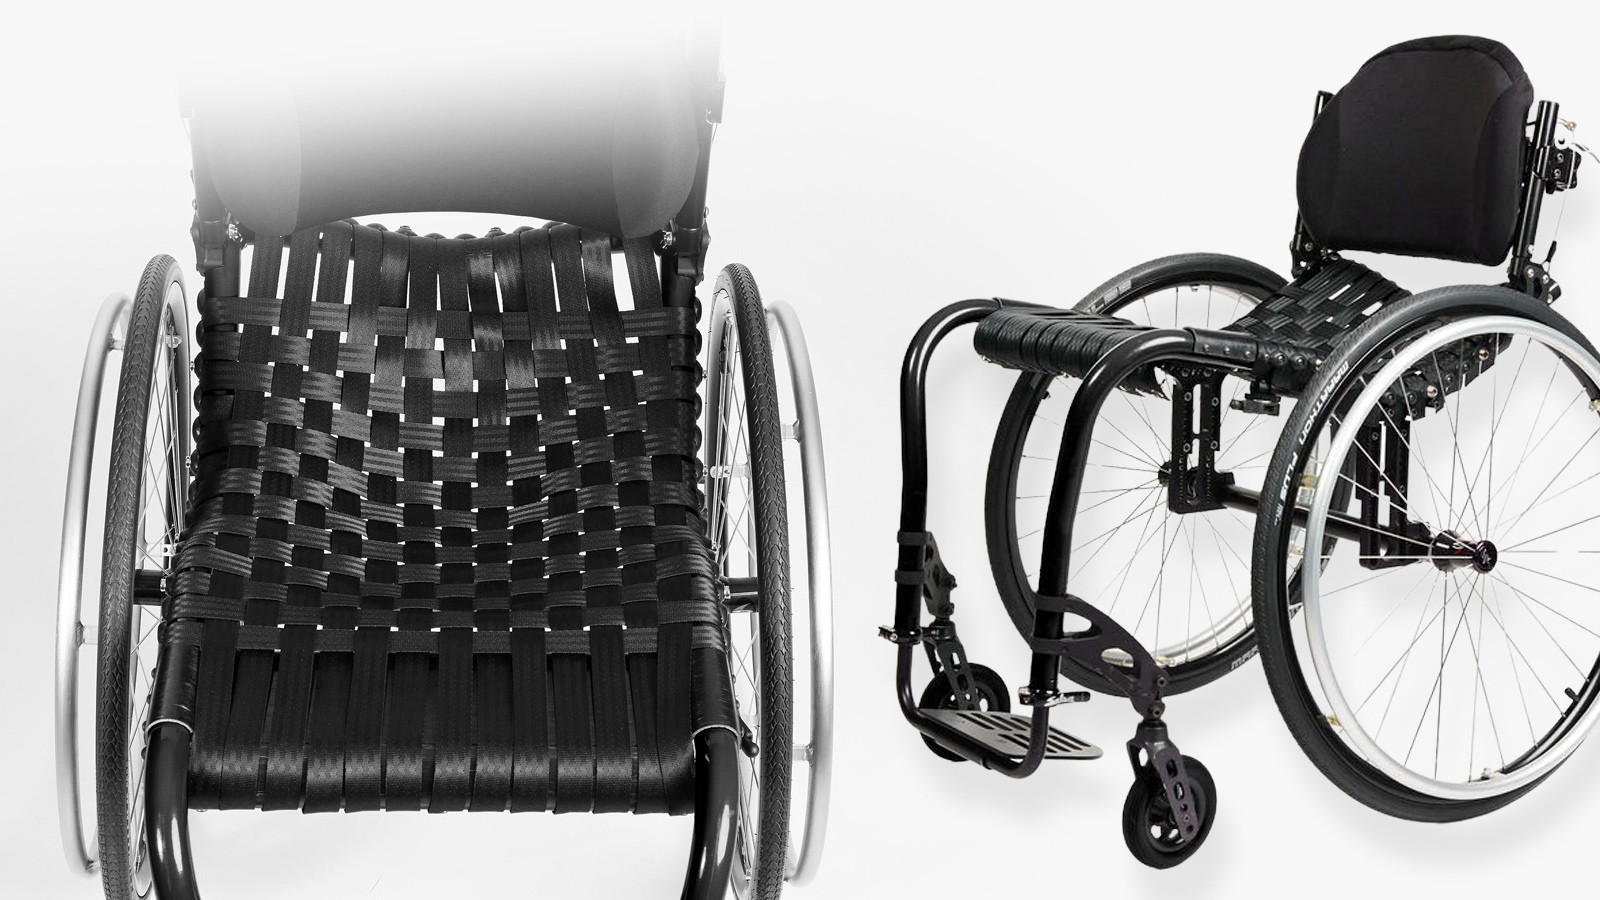
FlexForm™
Rapidly customizable wheelchair seating that helps treat and prevent pressure injury
IN THE NEWS
APMA grants Seal of Acceptance to Tamarack’s Full Line of Protection Socks with GlideWear Technology
Tamarack is proud to announce that its full line of Protection Socks with GlideWear Technology has been granted …

GlideWear is a highly versatile material designed to protect skin and soft tissue from the effects of friction. It can be strategically integrated into a variety of products for medical, athletic, veterinary and other uses where friction management is desired.


